Starbucks cold foam has quickly become a popular addition to coffee drinks, adding a creamy, frothy texture without overwhelming sweetness. Typically, this luscious cold foam is made with specialized equipment at Starbucks locations. But what if you want to recreate that delightful topping at home without the professional tools? Interestingly, you can achieve a similar result with a common kitchen appliance: a blender. How do you make Starbucks cold foam using a blender? Dive into the process of crafting this luxurious addition to your iced coffee at home.
Selecting the Right Ingredients
Starting with the right ingredients is crucial for the perfect foam. Starbucks uses nonfat milk as the base for their cold foam because it creates the ideal texture when frothed. However, variations can be made using other kinds of milk or creamers. Ensure the milk is cold, as chilling ensures better frothing.
Consider adding sweeteners or flavorings to mimic Starbucks’ offerings. Vanilla syrup or a splash of flavored creamer can elevate the taste profile. Proper ingredients ensure that the texture and taste of your cold foam are close to the original. Using high-quality ingredients supports the foam’s overall quality.
Prepping Your Blender
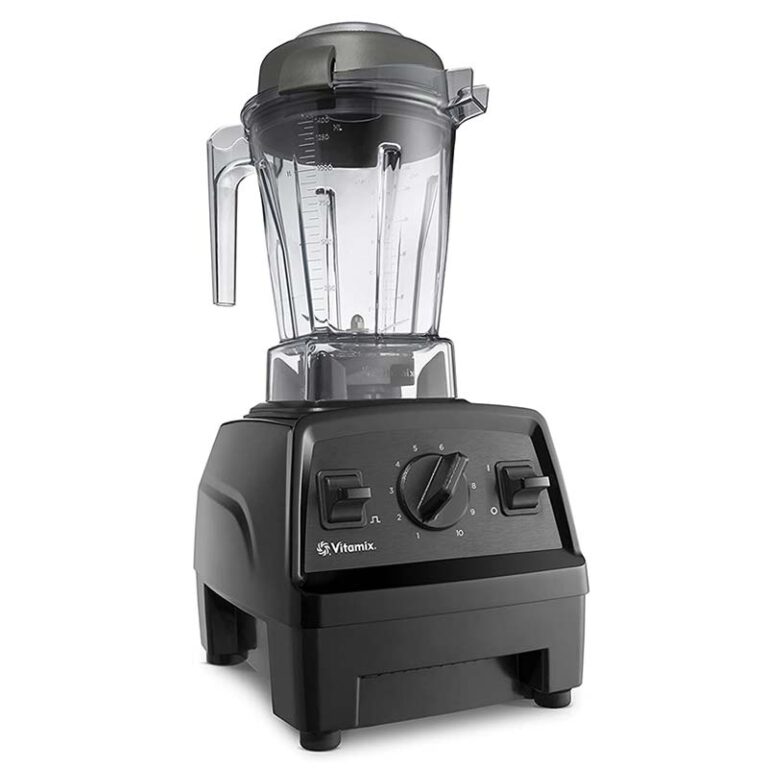
Before blending, make sure your blender is clean and dry. Residual flavors or moisture from previous blends can affect the taste and consistency of your cold foam. Use a high-speed blender capable of whipping air into the milk for optimal results. This ensures that the milk can be frothed to the correct consistency.
Some blenders come with special frothing or whipping attachments. If yours has them, now is the time to use these features. Prepping your blender ensures it’s ready to perform the specific task of making cold foam. Ensuring the blender is in good condition supports a smooth preparation process.
Blending the Milk
Pour the chilled nonfat milk into the blender. Start with a small amount, as it will expand significantly when frothed. For a serving, 1/4 to 1/2 cup of milk typically suffices. Adding too much at once can make it difficult to achieve the right consistency.
Turn the blender on to a medium-high setting. Begin blending and observe the milk’s transformation. Within 30-45 seconds, it should start turning into a thick and creamy foam. Stop the blender once the milk has reached a frothy, almost marshmallow-like texture. Proper blending is key to achieving the perfect foam consistency.
Flavoring the Foam
If you desire flavored cold foam, you can add your preferred sweeteners or syrups during the blending process. A tablespoon of vanilla syrup or a teaspoon of powdered sweetener works well. Blending these ingredients with the milk ensures they are evenly distributed.
Experimenting with different flavors allows you to create custom cold foam variations. Keep an eye on the amount added; too much may affect the foam’s ability to thicken. Flavoring the foam enhances its appeal and authenticity to Starbucks’ offerings.
Achieving the Perfect Consistency
The hallmark of Starbucks cold foam is its light, airy texture. If your foam isn’t quite right, it might mean adjusting the blender speed or the type of milk used. Nonfat milk is usually best because it froths better than whole milk.
Additionally, the chilling of the milk plays a huge role in achieving the perfect consistency. If the foam is too runny, you might need to blend a bit longer or use colder milk. Perfect consistency ensures your foam will replicate the Starbucks experience closely.
Pouring over Coffee
Once you’ve achieved the desired frothy consistency, it’s time to add the foam to your coffee. Gently spoon or pour the foam over your iced coffee, ensuring that it sits comfortably on top. The contrast between the creamy foam and the rich coffee creates a delightful drinking experience.
Using a tall glass gives the best presentation and allows the foam to layer beautifully over the coffee. Pouring over coffee correctly highlights the foam’s texture and enhances the visual appeal of the drink.
Cleaning the Blender
After you’ve made your cold foam, it’s important to clean your blender thoroughly. Milk residue can spoil and create unpleasant odors if not cleaned promptly. Disassemble any removable parts and wash them with warm, soapy water.
A quick blend with water and a few drops of dish soap can also help clean the blender jar. Rinse thoroughly to ensure no soap remains. Keeping your blender clean is essential for hygiene and performance, especially when frothing milk.
Troubleshooting Common Issues
Sometimes, your cold foam may not turn out as expected. Common issues include foam that is too runny or not frothy enough. To troubleshoot, first ensure that you are using very cold nonfat milk. Warm milk or the wrong type of milk can hinder frothing.
If the blender is not effective, try blending in smaller batches. Additionally, check if the blades are functioning properly, as dull blades might not whip air into the milk efficiently. Troubleshooting ensures you can identify and correct issues for a perfect foam every time.
Exploring Alternative Milks
While nonfat milk is traditional for cold foam, experimenting with alternative milks can yield interesting results. Almond milk, coconut milk, or oat milk can offer dairy-free options, though they may not froth as easily.
These alternative milks often require additional stabilizers or sweeteners to achieve the right consistency. Experimenting with various types can help you find a suitable non-dairy cold foam that meets your taste and dietary preferences. Exploring alternative milks encourages variety and accommodates dietary needs.
Adding Toppings and Garnishes
To further enhance your homemade Starbucks cold foam, consider adding toppings or garnishes. A light dusting of cinnamon, cocoa powder, or powdered sugar can add a pleasant visual and flavor element.
These toppings can be added directly onto the foam after it’s been poured over the coffee. Creative garnishes enhance both the taste and presentation of your cold foam coffee. Adding toppings and garnishes personalizes and elevates your beverage.
Storing Leftover Foam
If you’ve made more foam than needed, you can store the leftover foam in the refrigerator. Transfer the foam to an airtight container and store it for up to 24 hours. While it may lose some of its volume and texture, a quick whisk can help revive the foam.
Using stored foam might not be as fresh as when initially made, but it remains a convenient option for later use. Proper storage extends the usability of leftover cold foam and minimizes waste.
 Perfecting Your Technique
Making Starbucks cold foam using a blender may require some practice. Documenting the amounts used, the blending time, and any additional ingredients can help refine your process over time. Every blender is different, so small adjustments might be necessary.
Sharing your results and seeking feedback from others who have tried similar methods can provide useful insights. Perfecting your technique ensures that you can consistently create high-quality cold foam. Regular practice and adjustments lead to mastering the art of cold foam.
Integrating Cold Foam into Recipes
Cold foam isn’t just for coffee. You can incorporate it into various recipes, such as iced lattes, milkshakes, or even as a topping for desserts like pie or ice cream. This versatility makes cold foam a valuable addition to your culinary repertoire.
Experimenting with different applications can inspire new and creative uses for cold foam. Integrating it into various recipes maximizes its potential in your kitchen. Versatile usage extends the enjoyment of cold foam beyond traditional coffee drinks.
Learning from Starbucks
Understanding how Starbucks creates their cold foam can offer helpful insights for your own endeavors. Observing the texture, taste, and presentation techniques used by Starbucks can inspire and guide your homemade versions.
While you may not have access to all their specialized equipment, blending what you’ve learned from Starbucks with your own techniques can yield satisfying results. Learning from experts ensures you aim for and achieve high standards in your homemade cold foam.
Conclusion: Mastering Starbucks Cold Foam at Home
In conclusion, making Starbucks cold foam using a blender involves selecting the right ingredients, properly prepping your blender, achieving the perfect consistency, and troubleshooting common issues. By mastering these steps and integrating creative additions, you can replicate that luxurious foam at home. With practice and attention to detail, you’ll find that making and enjoying Starbucks-style cold foam is both satisfying and rewarding. Embracing these techniques ensures you can elevate your home coffee experience to the next level.