
Frothing milk is an essential skill for many coffee lovers, adding a delightful creaminess and texture to beverages like lattes and cappuccinos. When it comes to frothing milk, the traditional methods often involve steam wands or specialized frothers. However, the question arises: can you froth milk in a blender? Surprisingly, yes! With the right technique, your blender can create frothy, foamy milk that rivals those produced by professional coffee shops. Let’s dive into the details of how to froth milk in a blender, the different types of frothing techniques, tips for achieving the best results, and the various uses for frothed milk.
Understanding Milk Frothing
What is Milk Frothing?
Milk frothing involves introducing air bubbles into milk to create a light, airy texture. The process alters the milk’s composition, resulting in a rich microfoam — a combination of tiny bubbles that give your drinks a velvety finish. Frothing is not just for coffee drinks; it can also be used in sweet desserts and savory dishes.
Why Froth Milk?
Frothed milk enhances the drinking experience. When you froth milk, you not only improve its texture but also change its flavor profile. Air incorporated into the milk gives it a sweet taste due to the breakdown of lactose. This sweetness can complement your espresso’s bitter notes, balancing the flavor profile of your coffee beverage.
Preparing Your Blender for Frothing
Choosing the Right Blender
While any blender can technically froth milk, some models yield better results than others. A high-speed blender with a strong motor will produce better froth, as it can incorporate air more effectively. You should avoid personal-size blenders or those with less powerful motors, as they may struggle to create the desired texture.
Milk Selection
The type of milk you choose makes a significant difference in the frothing process. Whole milk or 2% milk tends to froth the best due to their higher fat content. Alternatives such as oat milk, almond milk, or soy milk can also froth well, but their results may vary based on the specific brand and formulation.
Steps for Frothing Milk in a Blender
Step 1: Prepare Your Ingredients
Pour your chosen milk into the blender. For the best results, fill the blender jar no more than halfway to allow room for the milk to expand as it froths. Remember that cold milk froths better than warm milk, so if you want to achieve the best foam, avoid preheating your milk.
Step 2: Blend at Low Speed
Start by blending the milk at a low speed. This will help to introduce air gradually without splattering. Blend this way until you start to see some froth developing on the surface, which usually takes around 20-30 seconds.
Step 3: Increase Speed
Once you notice froth forming, increase the speed to medium or medium-high. Continue blending for an additional 30 seconds to 1 minute, depending on how frothy you want your milk. A good indicator is when the milk doubles in volume and becomes airy and light in texture.
Step 4: Check Consistency
When you’re satisfied with the froth, turn off the blender and pause for a moment so you can assess the consistency. Ideally, your frothed milk should be light and foamy, with a smooth, velvety texture.
Step 5: Pour and Use
Finally, carefully pour your frothed milk over your coffee or whatever dish you wish to embellish. You can use the milk immediately or even use it in recipes for various desserts or breakfast items.
Tips for Successful Frothing
Heat vs. Cold Milk
While cold milk works best for creating froth, some recipes may require warm milk. However, if you opt for warm milk, be cautious not to overheat it, as it can affect the milk’s ability to froth. If you do choose to warm the milk, a microwave or stovetop method can be useful.
Experiment with Different Blending Times
Different milk types react differently to blending. Don’t hesitate to experiment with blending times to achieve your desired result. For instance, oat milk may require less time than whole milk to reach the perfect frothiness.
Pre-Infuse Flavors
Consider infusing your milk with flavors before frothing. Adding a drop of vanilla extract or a sprinkle of cinnamon can elevate your drink’s taste without any extra steps post-frothing.
Clean Immediately After Use
Milk can curdle and become rancid if left to sit for too long. Always clean your blender immediately after using it for frothing milk to avoid any buildup or lingering smells.
Alternative Milk Frothing Methods
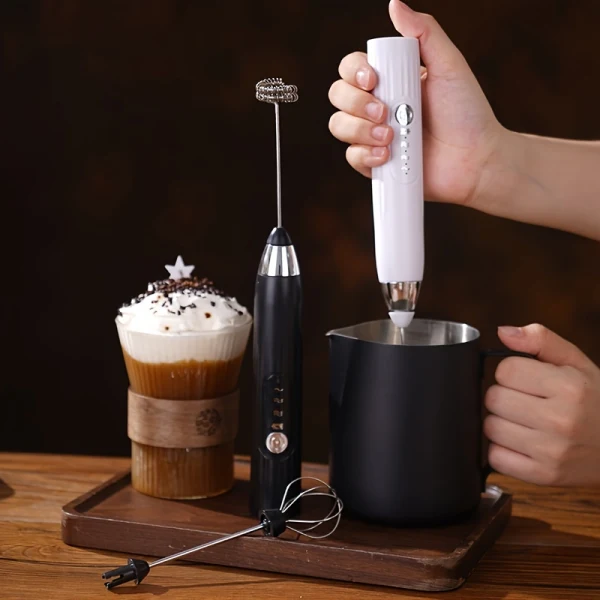
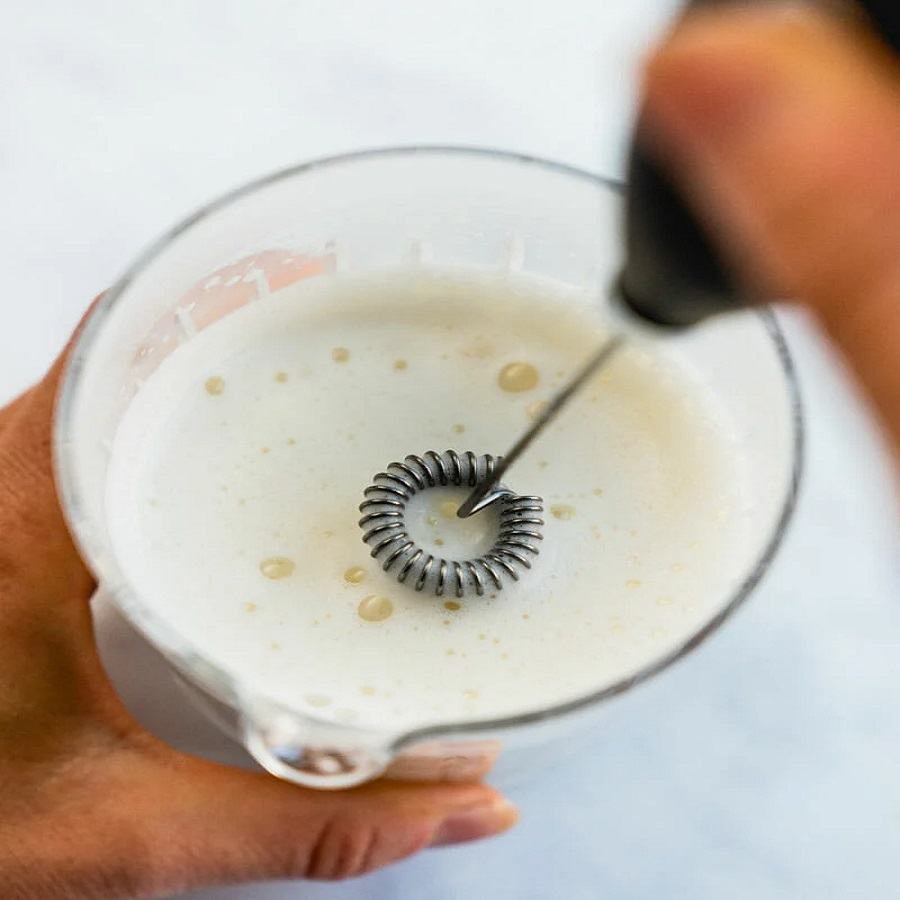
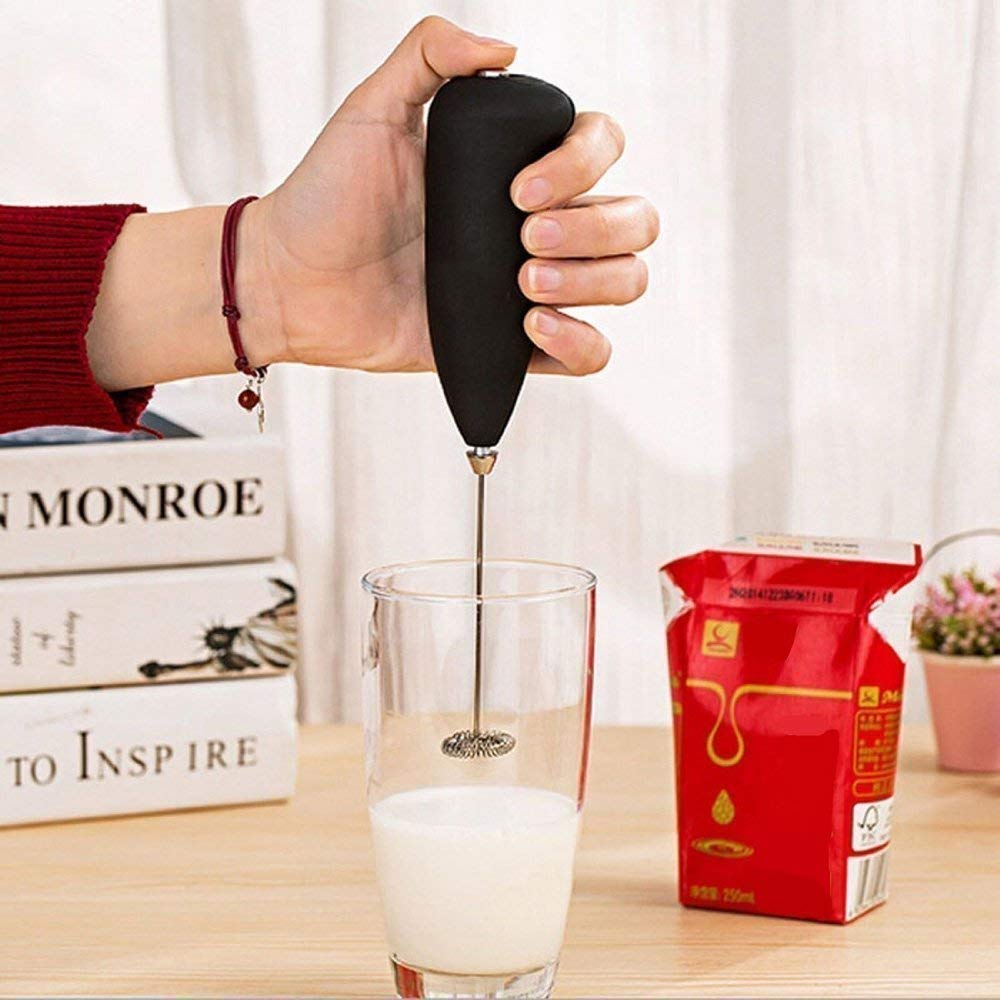
Handheld Milk Frothers
A handheld milk frother can be a quick solution for frothing milk without the hassle of a blender. These devices are portable, easy to use, and can froth various milk types in seconds.
Stovetop Frothing
An alternative method involves whisking preheated milk on the stovetop. While this requires more effort, you can achieve delightful results and enjoy a more hands-on approach to frothing.
French Press
A French press is an excellent tool for frothing milk. Simply pour your warmed milk into the French press and pump the plunger up and down to create foam. It’s a simple and effective technique if you already own one.
Creative Uses for Frothed Milk
Coffee Beverages
The primary use for frothed milk is undoubtedly in coffee drinks. But the options are endless! You can top off a cappuccino, create a flat white, or build a layered latte with your frothed milk.
Desserts
Incorporate frothed milk into various dessert recipes. Whether it’s a creamy panna cotta, fluffy mousse, or even whipped cream, frothy milk adds a lightness and richness that enhances any dish.
Breakfast Treats
Frothed milk can be added to breakfast recipes as well. Consider drizzling it over your oatmeal, pancakes, or waffles for a special touch. It can also be used in smoothies to enhance creaminess.
Savory Dishes
Frothed milk isn’t just limited to sweet dishes. Add it to creamy soups or sauces to achieve a silken texture, making your savory meals even more enjoyable.
 Common Mistakes When Frothing Milk
Over-Frothing
One common mistake is over-frothing the milk, which can lead to a dry, airy foam that separates quickly. Pay close attention to the consistency as you blend to ensure you achieve the perfect frothy texture.
Using the Wrong Milk
As mentioned earlier, the type of milk matters a lot when frothing. Low-fat or skimmed milk may not produce the desired foam, while higher fat content milk types will provide better froth.
Ignoring Temperature
Be mindful not to overheat milk if you choose to warm it before blending. Overheated milk can lose its ability to foam properly. Aim for a temperature between 140°F and 150°F (60°C to 65°C) for optimal results.
Troubleshooting Common Frothing Issues
Not Enough Froth?
If you’re not getting enough froth, ensure you are using a high-speed blender and that the milk is appropriately filled in the container. You may also want to adjust your blend times.
Too Much Air?
If your froth is overly airy, identify if you’ve over-frothed or used the wrong milk type. Switch to whole milk or try reducing blending time.
Separating Foam
If your froth starts to separate soon after frothing, it may indicate that the milk was heated too much or that a low-fat milk was used.
Final Thoughts: Can You Froth Milk in a Blender?
In conclusion, can you froth milk in a blender? Absolutely! With proper technique and the right tools, you can enjoy deliciously frothy milk for your coffee creations. A blender can be an effective alternative to specialized frothing tools, and experiment with different methods to find what works best for you. Ultimately, mastering the art of frothing milk will elevate your coffee-drinking experience, offering the luxurious texture and flavor that makes every sip enjoyable. Whether serving yourself or impressing guests, knowing how to froth milk in a blender opens up a world of culinary possibilities!

