Cleaning a blender is an essential task that many people overlook. A clean blender not only prolongs its lifespan but also ensures that your smoothies and soups taste fresh and untainted by previous ingredients. In this guide, we will explore various methods to effectively clean a blender, focusing on safe practices, tools needed, and specific cleaning techniques tailored to different blender types. By the end of this article, you will be equipped to tackle even the toughest blender messes and maintain a hygienic kitchen environment.
Preparing to Clean Your Blender
Cleaning your blender properly can prevent foodborne illnesses and extend its life. Before you start, make sure to unplug your blender for safety.

Gather the Necessary Cleaning Materials
Begin by gathering all the materials you will need:
- Warm water to loosen and dissolve residues
- Mild dish soap to remove grease and kill germs
- A soft microfiber cloth or sponge to avoid scratching surfaces
- A scouring pad for stubborn spots
- A small brush or old toothbrush to reach tight spaces
- White vinegar for natural disinfection
- Baking soda for abrasive cleaning
- Lemon for a natural fresh scent
Having these items at hand streamlines the cleaning process.
Disassembling Your Blender
Next, carefully disassemble your blender:
- Take off the blender lid and remove the pitcher from the base.
- If your blender design allows, unscrew the blade assembly from the pitcher.
- Take out any seals or gaskets to clean separately.
Doing this ensures every part is cleaned thoroughly and no food residue remains hidden. Remember, consulting your blender’s manual can help avoid damage while disassembling.
The Cleaning Process
Keeping your blender clean will ensure it works well and lasts longer. Here’s a step-by-step guide.
Cleaning the Blender Base
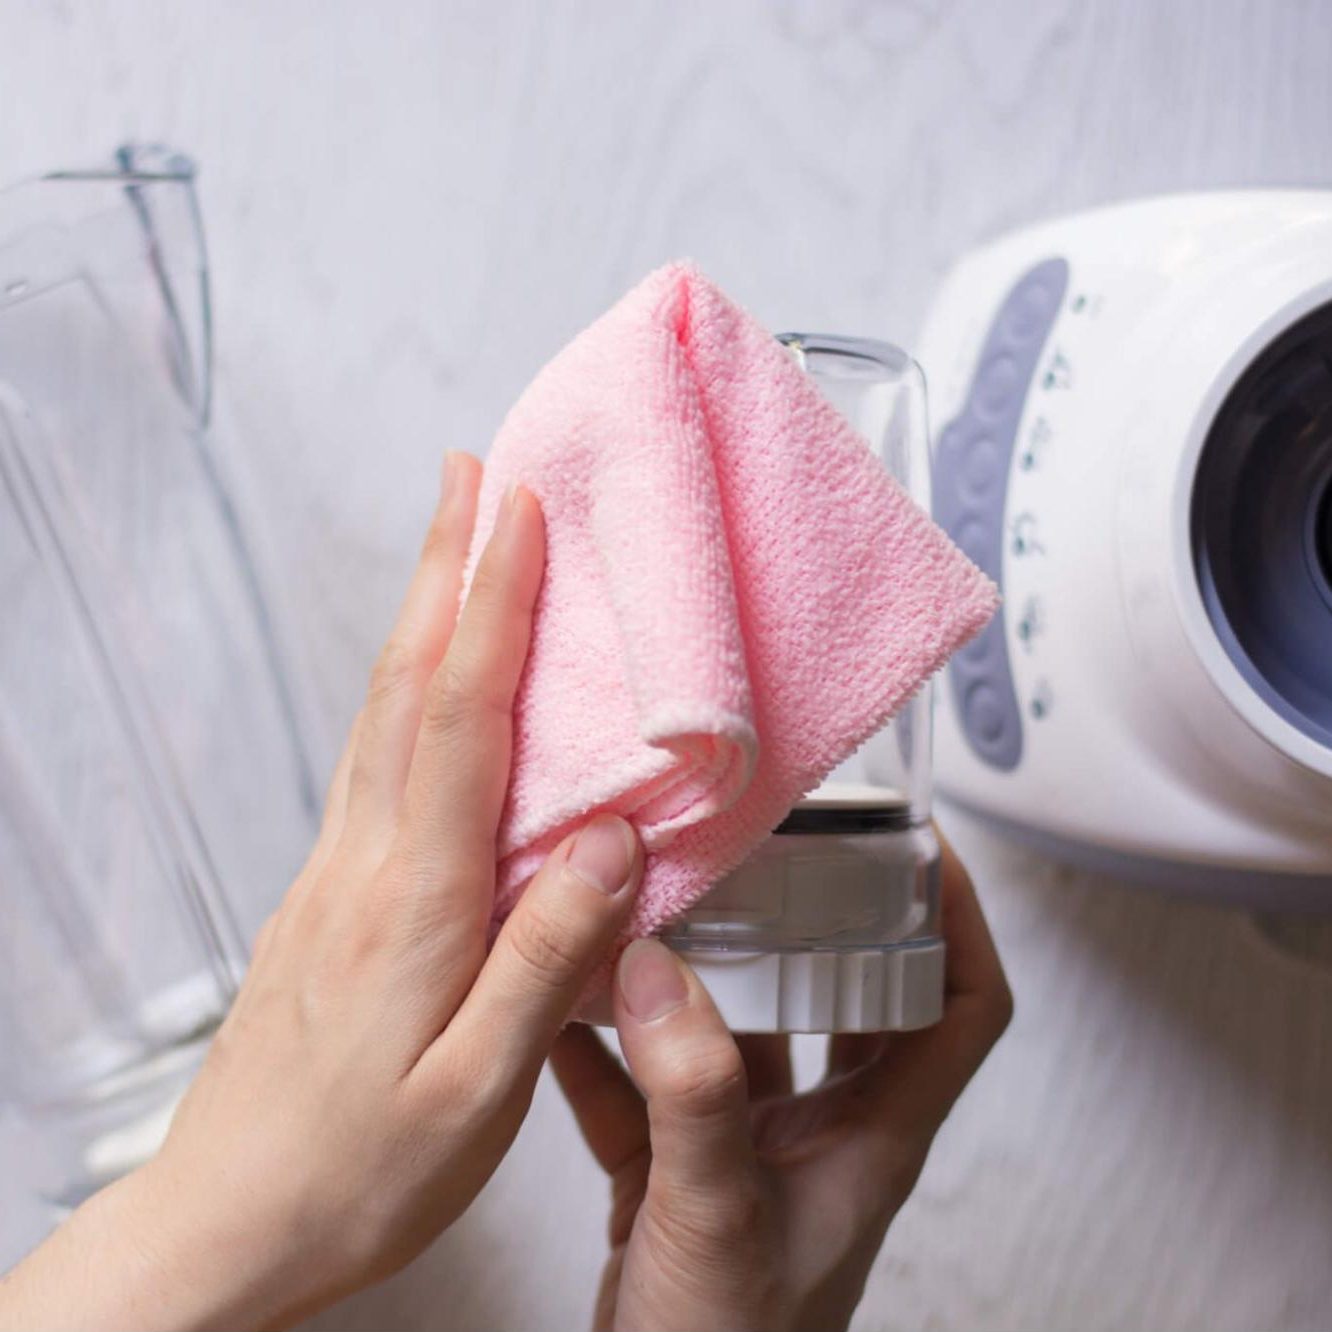
Start by wiping down the base. Use a damp microfiber cloth with a bit of vinegar if needed. Clean gently around buttons and dials.
Washing the Blender Jar
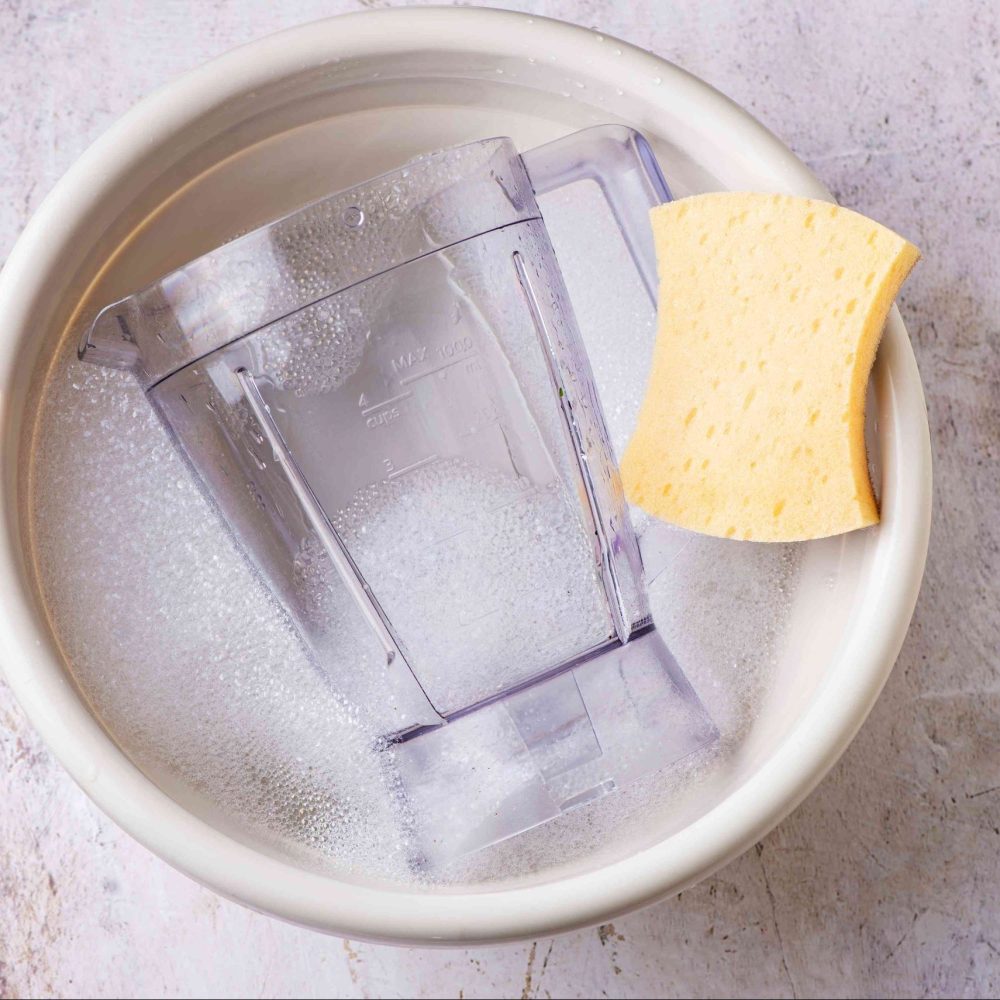
For the jar, use warm water and a drop of dish soap with a scouring pad. Rinse well with cold water to finish.
Handling the Smaller Components
Don’t forget the lid, seal, and blades. Scrub them with a brush and soapy water. Rinse these parts well too.
Tackling Stubborn Residue and Buildup
For hard-to-clean spots, try a paste of baking soda and water. Apply, let sit, then scrub and rinse. A baking soda solution can help to clean without harsh chemicals.
Remember to periodically check these processes to maintain your blender’s cleanliness and efficiency.
 Natural Cleaning Solutions for Your Blender
Having a clean blender not only makes sure your smoothies are fresh but also extends the life of your appliance. Let’s explore some natural ways to get your blender sparkling clean without harsh chemicals.
Using Vinegar for Stain and Odor Removal
White vinegar is great for tackling stains and odors. For a simple clean, mix equal parts of water and vinegar in the blender jar. Run it for a few seconds, then rinse thoroughly. This solution can help dissolve stains and eliminate any lingering smells.
Baking Soda for Deep Cleaning
Baking soda is a powerful natural cleaner. Create a paste with water and apply to stubborn spots. Let it sit for a few minutes. Then scrub and rinse. You can also add a few tablespoons to the jar, fill with warm water, and blend. Rinse well after.
Lemon as a Natural Degreaser
Lemon’s natural acidity makes it an effective degreaser. Add lemon juice to water in your blender. Blend and let it sit for a bit. Then, scrub and rinse. Your blender will not only be clean but also have a fresh citrus scent.
By using these eco-friendly cleaning agents, you’ll be taking good care of your blender and the environment. Remember routine maintenance will keep your blender in top shape for years to come.
Drying and Storing Your Blender
After your blender is clean, it is vital to dry and store it correctly.
Proper Drying Techniques
To avoid water spots or bacterial growth, follow these steps:
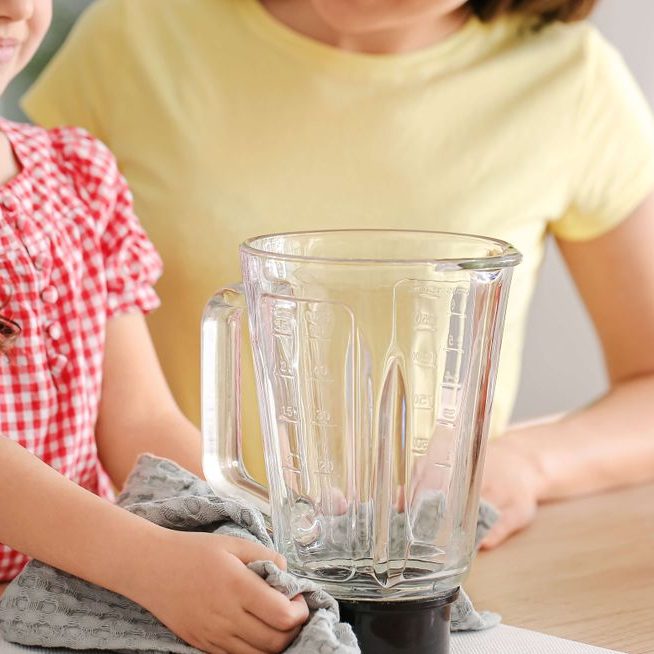
- Use a clean, dry microfiber cloth to wipe every part.
- Stand the pitcher and other parts upside down to let excess water drip off.
- Leave the parts to air dry on a dish rack if needed.
- Ensure all components are completely dry before reassembling.
Remember, moisture can lead to mold and unpleasant smells.
Storage Tips to Prevent Odor and Dust
Here’s how you can store your blender to keep it fresh and ready:
- Store the dry blender in a cupboard or on a shelf.
- Place it in an area with low humidity to prevent dampness.
- If storing for long, wrap it in a breathable cloth or keep it in its original box.
- Don’t seal the blender in plastic as it traps moisture and may cause odor.
By storing your blender properly, you will prevent any unpleasant smells and protect it from dust and other kitchen particles.
Maintenance Tips for Blender Longevity
To ensure your blender serves you well for years, follow these maintenance tips.
Routine Cleaning After Every Use
Clean your blender after each use to prevent residue buildup. Rinse the jar, wipe the base, and let all parts dry completely. This simple habit can greatly reduce the risk of bacteria growth and odor.
Caring for the Blender Blades
The blades are a crucial part of your blender. Hand wash them carefully with warm soapy water. Do not let them sit in water as this may cause rusting. Dry them thoroughly before reassembling. If detachable, occasionally check the blade assembly and the tightness of screws.
Avoiding Common Cleaning Mistakes
Don’t immerse the blender base in water; instead, wipe it with a damp cloth. Avoid using abrasive cleaners on the jar to prevent scratches. And never put components back together if they’re not completely dry, as this can lead to corrosion and odors.
 Frequently Asked Questions (FAQs)
For users looking for quick and helpful guidance, here’s a compilation of frequently asked questions about maintaining a clean blender.
Easy Techniques for Daily Cleaning
To quickly clean your blender after each use:
- Fill the jar one-third with warm water and a couple of drops of dishwashing liquid.
- Run the blender for about 20 seconds and rinse it out with cold water.
- This method helps prevent residue from drying and building up.
Removing Buildup and Grease
If your blender has stubborn grease or buildup:
- Mix warm water and baking soda to create a paste.
- Apply this paste directly to the greasy areas and let it sit for about an hour.
- Scrub gently with a brush or sponge, then rinse thoroughly.
- For extra power, mix in some white vinegar with the baking soda.
Blender Sanitation Methods
For thorough sanitation of your blender:
- Use a mixture of vinegar and warm water to eliminate bacteria and odors.
- Alternatively, lemon can be used for its natural antibacterial properties.
- Always ensure you rinse thoroughly with clean water after using these solutions.
Keep these methods and tips in mind to maintain your blender’s cleanliness and functionality.
Conclusion
In conclusion, learning how to clean a blender effectively is crucial for maintaining its performance and ensuring your recipes taste their best. With the right techniques and tools, cleaning your blender can be a breeze. By following the methods outlined in this guide, from basic immediate cleaning to tackling tough stains and odors, you can keep your appliance in excellent condition for many years to come. Embrace these cleaning habits, and enjoy a hygienic and efficient blending experience in your kitchen!


