Introduction
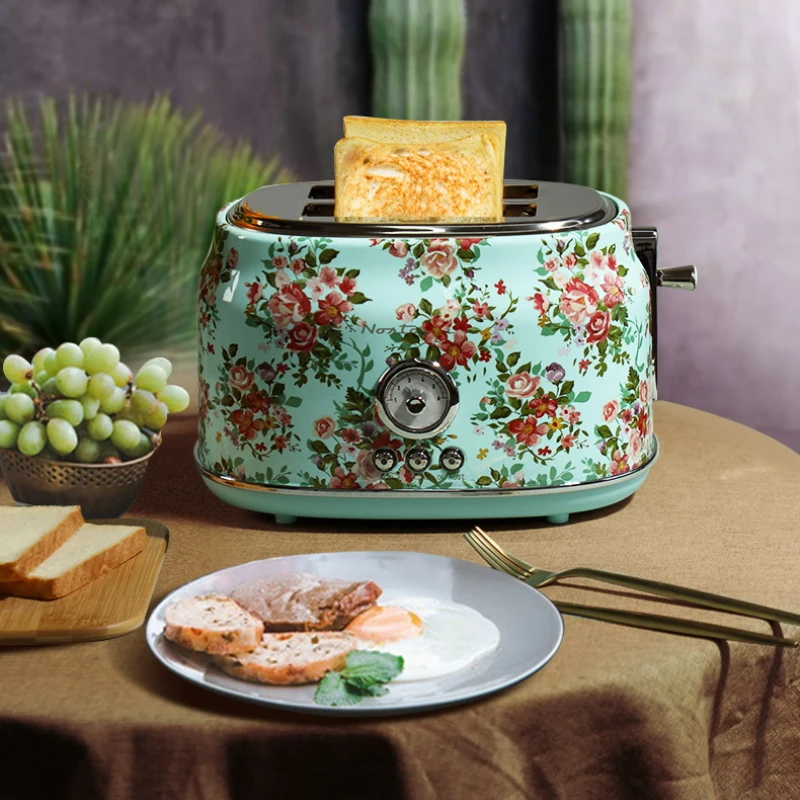
While toasters are a convenient and popular kitchen appliance for making toast, there are still several ways to achieve perfectly toasted bread without one. Whether you don’t own a toaster or simply want to explore alternative methods, this comprehensive guide will provide you with creative ways to make toast using common kitchen tools and appliances. From stovetop to oven techniques, we will cover everything you need to know to achieve delicious, golden-brown toast.
How to make toast without a toaster?
Stovetop Toasting Methods
1.1. Using a Skillet or Frying Pan
Toasting bread on a stovetop using a skillet or frying pan is a straightforward and effective method. Follow these steps:
Heat a skillet or frying pan over medium heat on the stovetop.
Spread a thin layer of butter or oil on one side of each slice of bread, or use dry bread if you prefer.
Place the bread slices, buttered (or oiled) side down, onto the preheated skillet or frying pan.
Allow the bread to cook for approximately 2-3 minutes until the bottom side turns golden brown.
Flip the bread slices over using a spatula and cook for an additional 1-2 minutes until the second side is toasted to your desired level.
Remove the toast from the skillet and serve immediately.
1.2. Using a Griddle or Grill Pan
If you have a griddle or grill pan, you can use it to create toasted bread with appealing grill marks. Follow these steps:
Preheat the griddle or grill pan over medium heat.
Spread butter or oil on one side of each bread slice or use dry bread.
Place the bread slices, buttered (or oiled) side down, onto the preheated griddle or grill pan. You can also place the slices diagonally to create unique grill marks.
Toast the bread for around 2-3 minutes until grill marks appear and the bottom side is nicely toasted.
Flip the bread over using a spatula and continue toasting for 1-2 minutes until the second side achieves your desired level of toastiness.
Remove the bread from the griddle or grill pan and serve immediately.
Oven Toasting Methods
2.1. Using a Baking Sheet or Cookie Sheet
Toasting bread in the oven using a baking sheet or cookie sheet allows you to achieve a crisp and evenly toasted result. Here’s how:
Preheat your oven to 350°F (175°C).
Line a baking sheet or cookie sheet with parchment paper or aluminum foil.
Spread a thin layer of butter or oil on one side of each bread slice, or use dry bread.
Place the bread slices, buttered (or oiled) side down, onto the lined baking sheet or cookie sheet.
Bake the bread for approximately 8-10 minutes until it reaches your desired level of toastiness. Keep a close eye on it to prevent burning.
Remove the baking sheet from the oven and carefully transfer the toast to a cooling rack.
Let the toast cool slightly before serving.
2.2. Using the Broiler Setting
Using the broiler to make toast is quick and efficient, providing a lovely golden-brown color. Follow these steps:
Adjust the oven rack to a position approximately 4-6 inches below the broiler element. Preheat the broiler.
Place the bread slices directly on the oven rack or on a heatproof baking sheet lined with aluminum foil or parchment paper.
Set the bread under the broiler and toast for approximately 1-2 minutes on each side until it achieves the desired level of toastiness. Keep a close eye on the bread to prevent burning.
Using heat-resistant oven mitts or tongs, carefully remove the bread from the oven.
Allow the toast to cool slightly before serving.
Using a Microwave
3.1. Microwaving Toast
While microwaving may not give you the same texture as the stovetop or oven methods, it can be a quick and convenient way to make toast. Here’s how:
Place the bread slice directly on the microwave’s turntable or on a microwave-safe plate.
Microwave the bread on high power for approximately 30-45 seconds, depending on your microwave’s wattage and desired level of toastiness. Start with a shorter time and increase as needed.
Flip the bread over using a spatula or tongs, and microwave for an additional 30-45 seconds until the bread reaches your desired level of toastiness.
Remove the bread from the microwave and let it cool briefly before serving.
Additional Tips and Variations
4.1. Seasoning and Flavors
Experiment with various seasonings and flavors to enhance your toast. Add spices like cinnamon, nutmeg, or garlic powder before toasting, or try spreading toppings like peanut butter, avocado, or cream cheese after toasting.
4.2. Open-Faced Sandwiches and Melts
Take advantage of the toast-making process and transform your bread slices into open-faced sandwiches or melts. Add your desired toppings, such as cheese, vegetables, or spreads, before toasting the bread. Allow the toppings to melt or cook along with the toast.
4.3. Thickness and Bread Varieties
Adjust the toasting time based on the thickness and type of bread you’re using. Thinner slices will toast faster, while thicker slices may require additional time. Experiment with different bread varieties, such as whole wheat, sourdough, or rye, to add variety to your toast.
4.4. Toppings and Garnishes
Once your toast is ready, get creative with toppings and garnishes. Consider using fruit preserves, honey, fresh herbs, or a sprinkle of sea salt to elevate the flavors and presentation.
Safety Precautions and Considerations
6.1. Monitoring Toasting Process
Regardless of the method you choose, it’s important to closely monitor the toasting process to prevent burning or over-toasting. Keep an eye on the bread as it cooks, adjusting cooking times as needed.
6.2. Fire Safety
Toasting bread involves heat and can pose a fire hazard if not properly attended to. Never leave the kitchen unattended while toasting, especially when using the stovetop or broiler methods. Always use caution and follow fire safety guidelines.
6.3. Handling Hot Surfaces
When using stovetop or oven methods, remember to handle hot surfaces with oven mitts or appropriate heat-resistant gloves. This will help prevent burns or injury when turning or removing the toast from the heat source.
Cleaning Up
7.1. Removing Crumbs
After toasting, it’s important to clean up any crumbs or debris left behind. Shake out and wipe down the skillet, frying pan, griddle, or grill pan to remove lingering particles. In the case of oven toasting, remove any parchment paper or foil lined on the baking sheet or cookie sheet.
7.2. Microwave Cleanup
If using the microwave method, wipe away any crumbs or residue that may have accumulated during the toasting process. It’s always a good practice to keep the microwave clean for better performance and hygiene.
Conclusion
While a toaster is a convenient appliance for making toast, you don’t need one to enjoy this classic breakfast staple. By utilizing stovetop methods, oven toasting techniques, or even the microwave, you can achieve perfectly toasted bread with a delicious golden-brown color. Experiment with different cooking methods, seasoning combinations, and bread varieties to create your ideal slice of toast. These alternative methods allow you to enjoy a warm and satisfying breakfast without the need for a toaster, making toast accessible to anyone in any kitchen.
