Introduction:
Discovering the Inner Mechanism of a Toaster
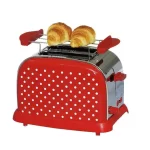
Toasters have long been a staple appliance for breakfast enthusiasts and toast lovers alike. While we often focus on the external features and the toasting process, understanding the inner workings of a toaster can add a deeper appreciation for this essential kitchen device. In this comprehensive guide, we will take a closer look inside a toaster, examining its components and their functions, from the heating elements to the timer mechanism. Unveil the secrets that lie within and gain a better understanding of how your toaster transforms bread into perfectly golden, crispy slices.
What Lies Inside a Toaster? Unveiling the Inner Workings
-
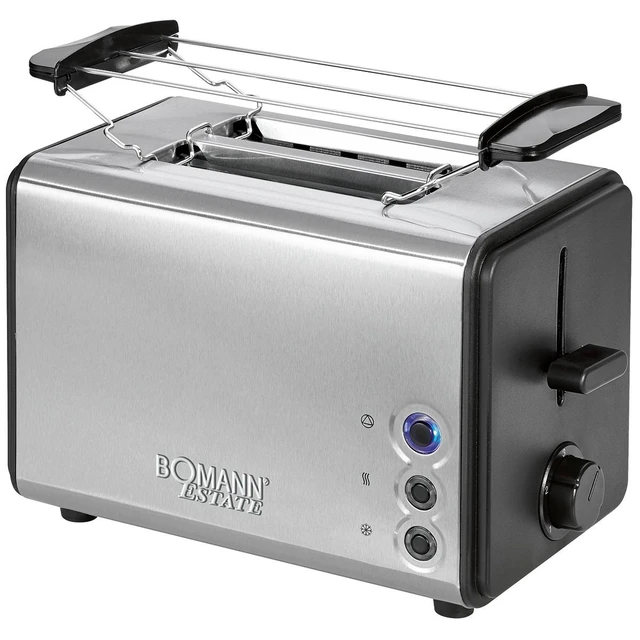
The Outer Shell and Insulation
a. Encasing the internals:
The outer shell of a toaster is typically made of metal or heat-resistant plastic. It provides a protective cover for the inner components and prevents heat from escaping, directing it towards the bread instead.
b. Insulating materials:
To ensure safe operation, the toaster’s outer shell is lined with insulating materials. These materials help to contain and redirect heat, preventing excessive heat transfer to the exterior, which could cause burns or other safety hazards.
-
Heating Elements: Generating the Toasting Heat
a. Electric heating elements: The key components responsible for toasting bread are the electric heating elements. Typically made of nichrome wire, these elements have high electrical resistance, allowing them to generate intense heat when an electric current passes through them.
b. Coil-shaped design:
To maximize surface area and heat distribution, manufacturers often coil or shape the heating elements in a toaster. This design ensures uniform toasting and even browning across the bread’s surface.
c. Placement:
The heating elements are strategically positioned within the toaster, usually at the top and bottom, to surround the bread slices. This arrangement allows for consistent heat application from both sides, resulting in even toasting.

-
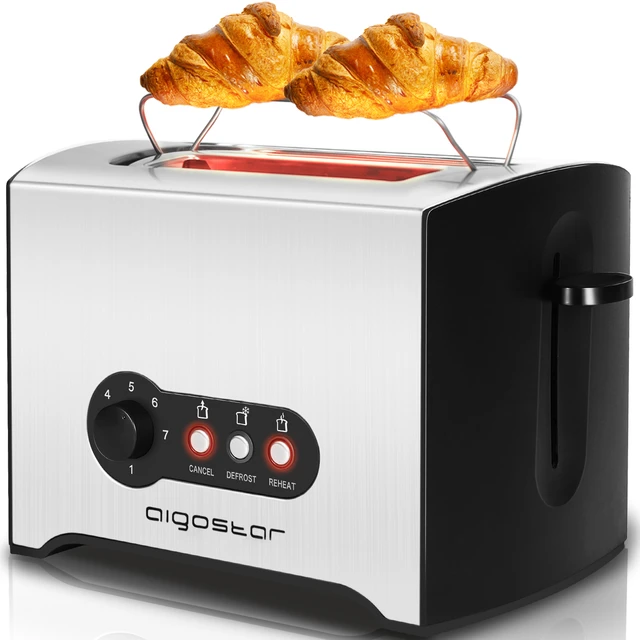
Bread Slots and Guides: Loading and Positioning the Bread
a. Slots for bread insertion:
The bread slots are the openings in which the bread slices are placed for toasting. They are typically wide enough to accommodate different bread thicknesses and sizes.
b. Guides and centering mechanism:
To ensure proper positioning of the bread slices, toasters often feature guides or springs that gently center the slices within the slots. This mechanism guarantees even toasting and prevents the bread from becoming wedged or unevenly toasted.
-
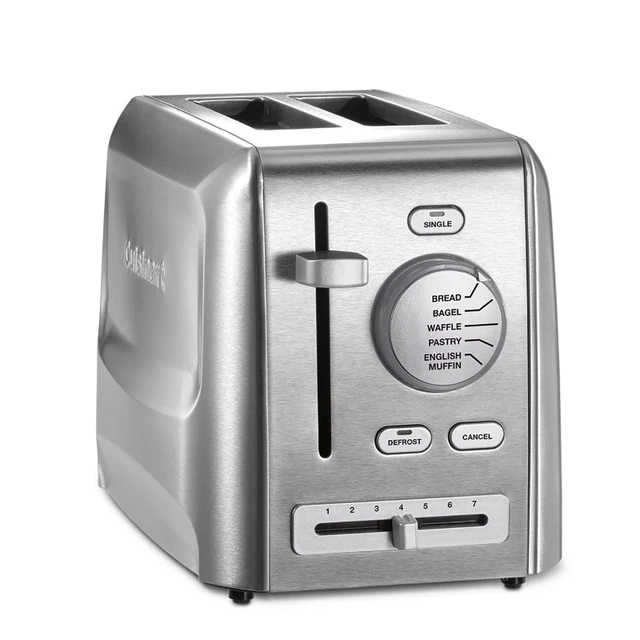
Control Panel: Settings and Adjustments
a. Toasting settings: The control panel allows users to customize their toasting experience. It typically includes settings for the desired level of toasting, such as light, medium, and dark. These settings adjust the toasting time or control the heat output levels.
b. Timer and cancel button: The timer component within the toaster determines the duration of the toasting process. The cancel button partially or completely stops the toasting cycle when pressed, allowing users to interrupt the process if needed.
c. Additional features: Some toasters come with additional features such as defrost, reheat, or bagel settings. These features offer convenient functionalities for specific toasting needs, such as defrosting frozen bread or toasting only one side of a bagel.
-
Crumb Tray and Removal
a. Crumb tray function: The crumb tray is a removable component located at the bottom of the toaster. Its primary function is to collect the crumbs that fall off the toasting bread slices during the toasting process. The tray helps keep the toaster clean and prevents buildup that could affect performance.
-
Safety Features: Protecting Users and Preventing Accidents
a. Automatic shut-off:
Toasters are equipped with safety mechanisms that automatically turn off the heating elements once the toasting cycle is complete. This prevents the bread from burning or catching fire, offering peace of mind and reducing the risk of accidents.
b. Overheat protection:
Thermal sensors or thermostats are incorporated into the toaster to monitor and regulate the internal temperature. If the temperature exceeds a safe range, these protective devices automatically shut off the toaster to prevent overheating and potential hazards.
-
Power Cord and Electrical Connectivity
a. Power supply:
The toaster is connected to a power source through a power cord. It is important to ensure that the power cord is in good condition and securely connected to a functioning electrical outlet.
b. Safety considerations:
To avoid electrical hazards, the power cord should be kept away from water or any other liquids. Additionally, it is advisable to unplug the toaster when not in use or during cleaning to prevent accidental activation.
-
Toasting Process: From Bread to Toast
a. Initial heating phase:
When the toaster is turned on, electricity flows through the heating elements, causing them to heat up. The heating elements radiate heat, gradually warming up the surrounding environment within the toaster.
b. Browning reaction:
The heat causes the Maillard reaction to take place in the bread, resulting in browning and the development of the characteristic toasty flavor. The duration of the toasting process determines the degree of browning.
c. Timing and control:
The timing is set based on the desired toastiness level selected on the toaster’s control panel. The control mechanism monitors the toasting time and adjusts the flow of electricity to the heating elements accordingly.
-
Maintenance and Cleaning
a. Safety precautions: Before attempting any maintenance or cleaning, unplug the toaster and ensure it is cool to the touch to prevent burns or electrical shock.
b. Exterior cleaning: Wipe the exterior of the toaster with a damp cloth, taking care not to use excessive moisture or immerse the toaster in water. Dry the exterior thoroughly after cleaning.
c. Crumb tray maintenance: Regularly remove and empty the crumb tray to prevent buildup and potential fire hazards. Clean the tray with warm, soapy water, rinse, and dry before reinserting it into the toaster.
d. Interior cleaning: If necessary, clean the interior of the toaster by using a soft brush or cleaning tool to remove any residual crumbs or debris. Ensure the toaster is completely dry before plugging it back in.
Conclusion: Appreciating the Inner World of Toasting
By exploring the inner components of a toaster, you can gain a deeper understanding of the mechanics at work when creating your perfect slice of toast. From the heating elements that generate the necessary heat to the control panel that allows for customization, each component plays a crucial role in delivering the desired level of toasting. The outer shell and insulation ensure safety and efficient heat transfer, while the crumb tray and safety features enhance convenience and prevent accidents. With this newfound knowledge, every time you toast your bread, you can appreciate the intricate workings happening inside the toaster, transforming simple slices into delectable, golden-brown delights.