When it comes to baking, few things are as satisfying as a perfectly made pie, and at the heart of that pie is often the crust. A good crust is essential, providing not only structure but also flavor to the entire dessert. In this article, we will delve deep into the process of making a pie crust using a food processor, which simplifies the task and yields delightful results. You can achieve a flaky, tender pie crust without the usual hassle of mixing by hand. Whether you are a seasoned baker or a kitchen novice, this guide will equip you with the essential techniques, tips, and a foolproof recipe to elevate your pie-making skills.
Understanding the Components of Pie Crust
Before diving into the recipe, it’s crucial to understand the key ingredients that contribute to a successful pie crust. Each component plays a unique role, and knowing their functions can help you make informed choices.
The Flour
Flour is the foundation of any pie crust. Generally, all-purpose flour works well due to its balance of gluten for structure and tenderness. However, you might also consider using pastry flour for even flakier results. The choice of flour significantly impacts the texture, so feel free to experiment based on your preferences.
The Fat
Fat is where the magic happens! Butter, shortening, and lard each bring distinct qualities to the crust. Butter provides a rich flavor, while shortening can lead to a flakier texture. Additionally, lard is a traditional ingredient that delivers an incredibly tender crust. You can even experiment by combining these fats to create a crust that perfectly suits your taste.
The Liquid
Liquid, typically cold water, serves to bind the whole mixture together. However, it is essential to use just enough to bring the dough together without making it sticky. The temperature of the liquid matters too; cold water helps keep the fats solid, contributing to the flakiness you desire.
Salt and Sugar
Finally, salt and sugar enhance the flavor profile of the crust. While salt is vital for balancing sweetness and enhancing the overall taste, sugar adds just a hint of sweetness, making it ideal for dessert pies. The amounts of these ingredients can vary based on the desired flavor and type of pie.
Preparing Your Food Processor
A food processor is an invaluable tool when it comes to making pie crust. Its efficiency and speed can help ensure a uniformly mixed dough, minimizing the risk of overworking it.
Choosing the Right Appliance
First and foremost, ensure that you have a food processor that is large enough to handle your ingredients. Ideally, you should select one with a bowl size of at least 7 cups. This size of appliance will comfortably accommodate the flour and fats without overflowing.
Cleaning and Assembling
Before you get started, make sure your food processor is clean and all parts are properly assembled. A dirty processor can introduce unwanted flavors into your crust, while any loose parts may make the process more cumbersome.
Measuring Your Ingredients
Accurate measurements are crucial for the success of your crust. Use a kitchen scale for the flour if possible; it provides the most accuracy compared to volume measurement. For beginners, measuring cups also work, but be sure to spoon the flour into the cup and level it off with a knife to avoid packing it down.
Step-By-Step Instructions for Pie Crust in a Food Processor
Now we come to the exciting part: the actual steps for making a pie crust using a food processor.
Step 1: Combine Dry Ingredients
In your cleaned food processor, add the flour, salt, and sugar. Pulse these ingredients together a few times to combine them evenly. This initial mixing ensures that the salt and sugar are distributed throughout the flour, allowing for a uniform flavor in your crust.
Step 2: Add the Fat
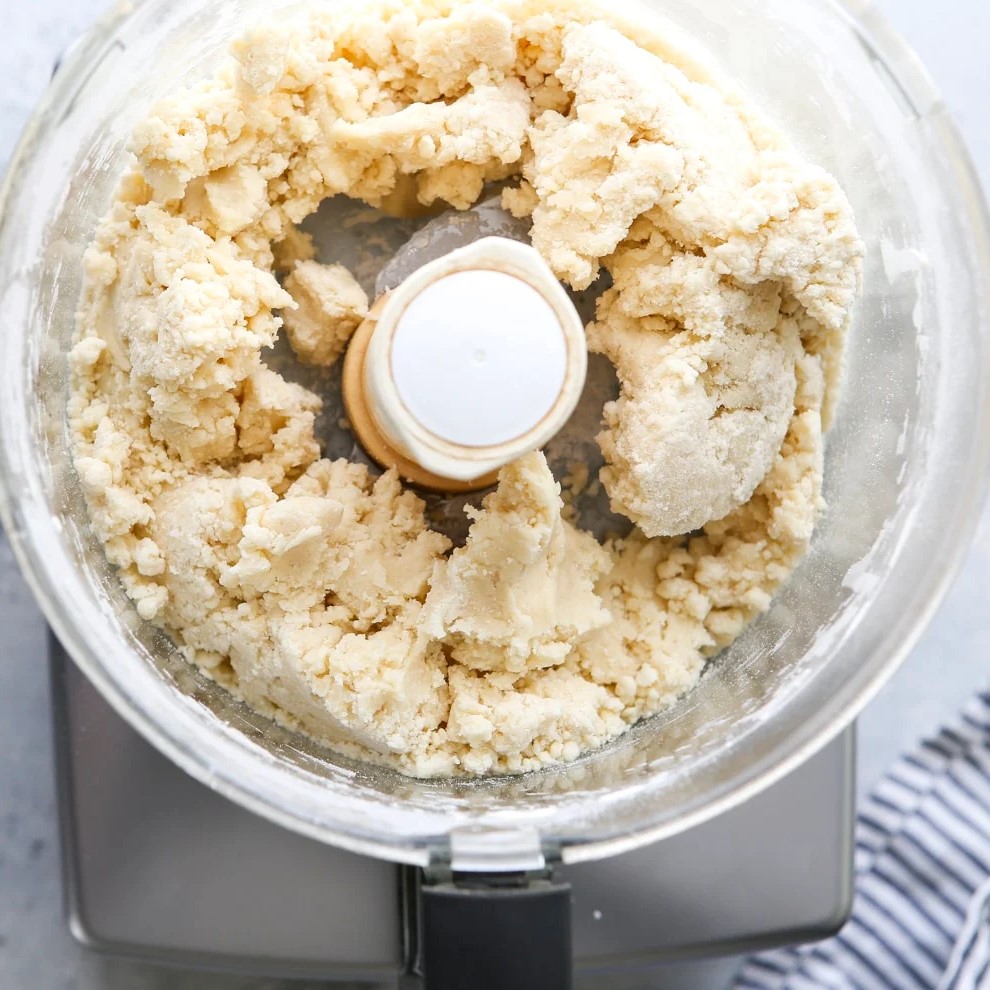
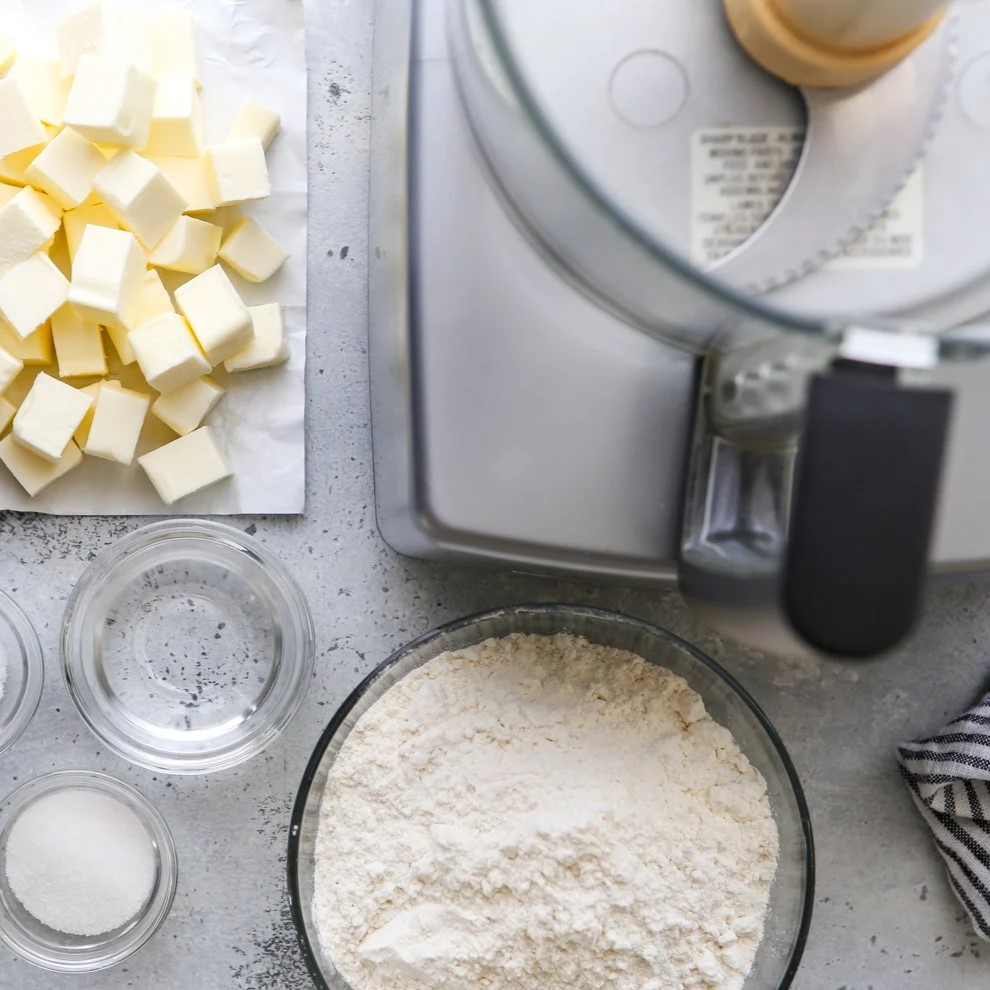
Next, cut your cold butter (or other fat) into small cubes before adding it to the flour mixture. This step is crucial because it increases the chances of effectively cutting the fat into the flour, creating those essential flaky layers. Pulse the food processor until the mixture resembles coarse crumbs with some pea-sized bits of fat.
Step 3: Incorporate the Liquid
Once you have achieved that coarse texture, it’s time to gradually add the cold water. Begin by adding a couple of tablespoons at a time while pulsing the processor. You want to monitor the dough’s consistency closely; it should start to clump together but not be sticky. Continue adding water until it begins to form a cohesive dough.
Step 4: Form the Dough
After the dough has come together, carefully transfer it onto a lightly floured surface. Using your hands, gently press it into a disc shape. Take care not to overwork it; the key to a flaky crust is to keep the ingredients as intact as possible.
Step 5: Chill the Dough
Wrap the disc in plastic wrap and refrigerate for at least one hour. Chilling allows the gluten to relax, resulting in a more tender pie crust. You can also prepare the dough a day in advance and keep it stored in the refrigerator.
Rolling Out the Dough
Once your dough has chilled, you are ready to roll it out. This process significantly contributes to achieving the desired thickness and shape for your pie.
Preparing to Roll
Begin by lightly flouring your work surface and the rolling pin. Unwrap your chilled dough and place it in the center. To prevent sticking, sprinkle a bit of flour on top of the dough as well.
Rolling Technique
Start rolling from the center outward, applying even pressure. Rotate the dough a quarter turn after every roll to achieve a circular shape. If the edges crack, don’t worry; you can simply pinch them back together. Aim for a uniform thickness, ideally about 1/8 inch.
Transferring to the Pie Plate
Once your dough is rolled out to your desired thickness, carefully transfer it to your pie plate. You can do this by rolling the dough onto your rolling pin and then unrolling it over the plate. Press it gently into the bottom and sides, ensuring that it fits snugly.
Finalizing the Crust
After you’ve placed the dough in the pie plate, there are a few final touches to consider before baking.
Trimming the Edges
Using a sharp knife or kitchen scissors, trim any excess dough hanging over the edges of the pie plate. Leave about a half-inch margin to allow for crimping or folding.
Crimping the Edges
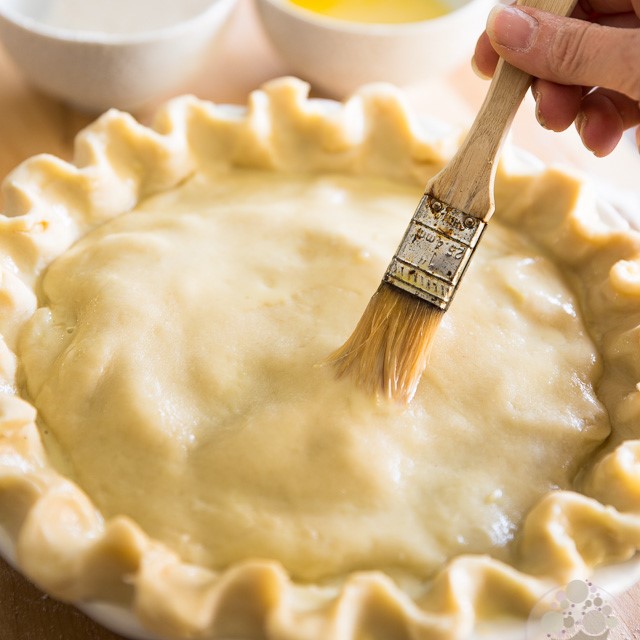
To create a decorative finishing touch, crimp the edges of your crust. You can use your fingers to pinch the dough or a fork to press it down. This step not only looks beautiful but also helps to seal the crust and prevent it from shrinking during baking.
Pre-baking the Crust (If Necessary)
Depending on your pie recipe, you may want to pre-bake the crust. To do so, dock the bottom of the crust using a fork. This technique involves making small holes to prevent bubbles from forming while baking. Place a layer of parchment paper or aluminum foil over the crust and fill it with pie weights or dried beans. Bake in a preheated oven at 375°F (190°C) for about 15 minutes. Remove the weights and parchment, then continue baking for an additional 10 minutes, or until lightly golden.
Troubleshooting Common Issues
While making a perfect pie crust can feel challenging at times, it’s essential to know how to troubleshoot common problems.
Crust is Too Crumbly
If your crust is falling apart, the most common culprit is insufficient moisture. Ensure you’re adding enough cold water while mixing. However, be careful not to overdo it; just one tablespoon at a time can make a significant difference.
Crust Has Shrunk
Crust shrinking is often a result of overworking the dough or not allowing it to chill long enough. To avoid this issue in the future, handle the dough minimally and make sure to refrigerate it for at least an hour.
Crust is Tough
If your crust turns out tough, it’s likely because gluten was overdeveloped. This often happens if you mix the dough too much or added too much liquid. Remember to allow the dough to come together just until it forms a ball, and take care not to add more liquid than necessary.
 Conclusion
Making a pie crust in a food processor may seem daunting at first, but with the right techniques and a little practice, you can create a perfect crust every time. From understanding the role of each ingredient to mastering the steps of preparation and cooking, you’ll gain confidence in your baking skills. Whether you’re preparing a classic apple pie, a decadent chocolate cream pie, or a savory quiche, the quality of your crust will significantly influence the outcome.
Now that you’ve explored the ins and outs of making a pie crust, here’s a simple and delicious food processor pie crust recipe for you to try:
Food Processor Pie Crust Recipe
Ingredients:
- 2 ½ cups all-purpose flour
- 1 tsp salt
- 2 tbsp sugar (optional)
- 1 cup cold unsalted butter, cut into cubes
- 6 to 8 tbsp ice-cold water
Instructions:
- In a food processor, combine the flour, salt, and sugar. Pulse a few times to mix.
- Add the cold butter cubes and pulse until the mixture resembles coarse crumbs. Some pea-sized bits should remain.
- Gradually add ice-cold water, pulsing until the dough starts to come together without being sticky.
- Turn the dough out onto a lightly floured surface, form it into a disc, wrap it in plastic, and refrigerate for at least an hour.
- Once chilled, roll out the dough as described above, transfer to a pie plate, and crimp the edges.
Given this insight and practice, your creations will surely impress friends and family, making every pie party a delightful experience! Happy baking!
